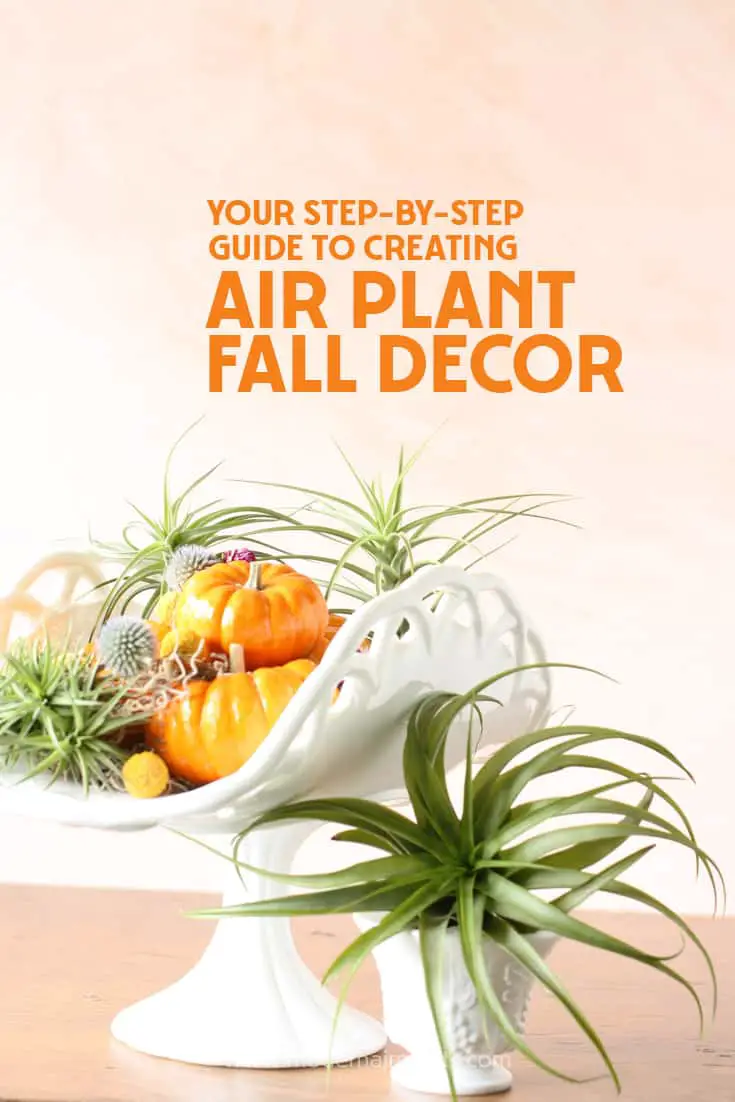
Bippity Boppity Boo! Use Air plants to magically change pumpkins into something special!
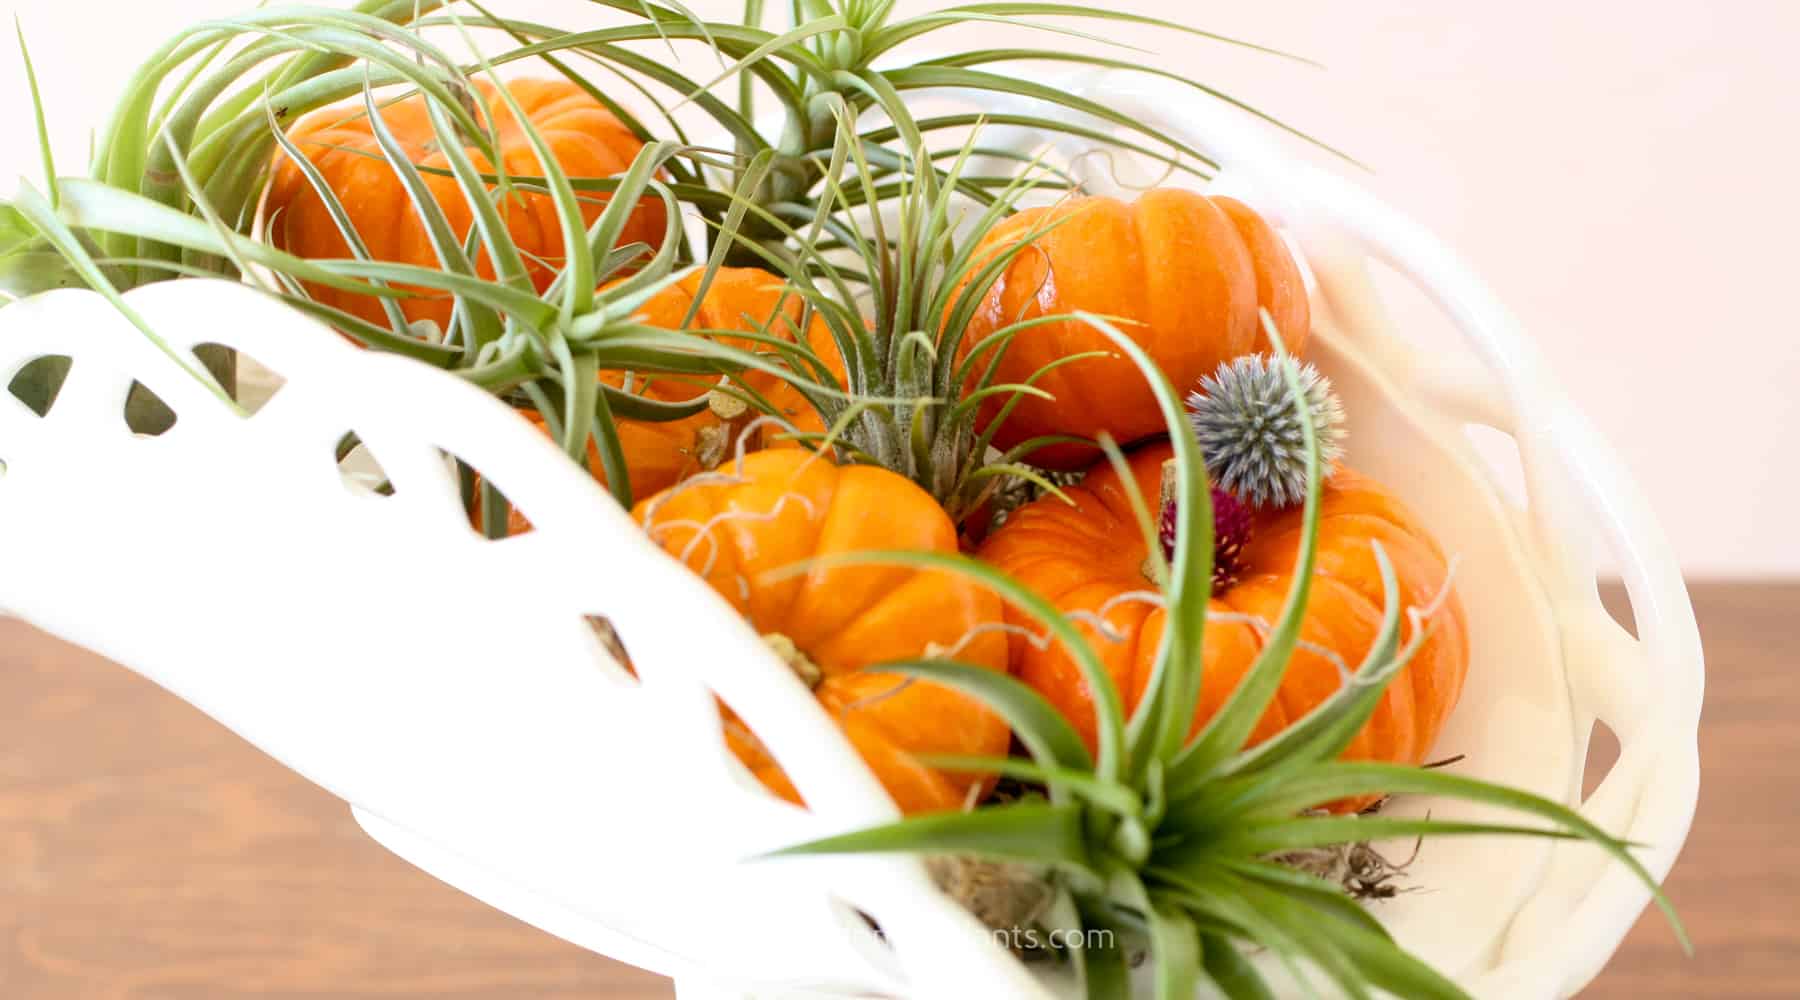
Make the most of your air plants this autumn with an irresistible air plants and pumpkins combo. A bowl of pumpkins on the kitchen table announces to our family and guests that fall has arrived, and yes, we’re excited about it, and yes, we acknowledge that nip in the air. Adding air plants to mix gives a nod to the unexpected, yet pleasant surprises life offers us.
This post may contain affiliate links, and I love all the products I promote.
Because different occasions require different arrangement styles, this post will cover both a tall, high-impact display and a low profile (though still high impact) arrangement.
Materials
- A shallow bowl to serve as the foundation of your arrangement. A footed bowl adds an extra element of interest and height. A decorative plate or even a cutting board or tray works well for low profile displays.
- Small pumpkins. There are so many fun varieties available. I am using small orange pumpkins and some small tiger striped pumpkins. Gourds are also a colorful option.
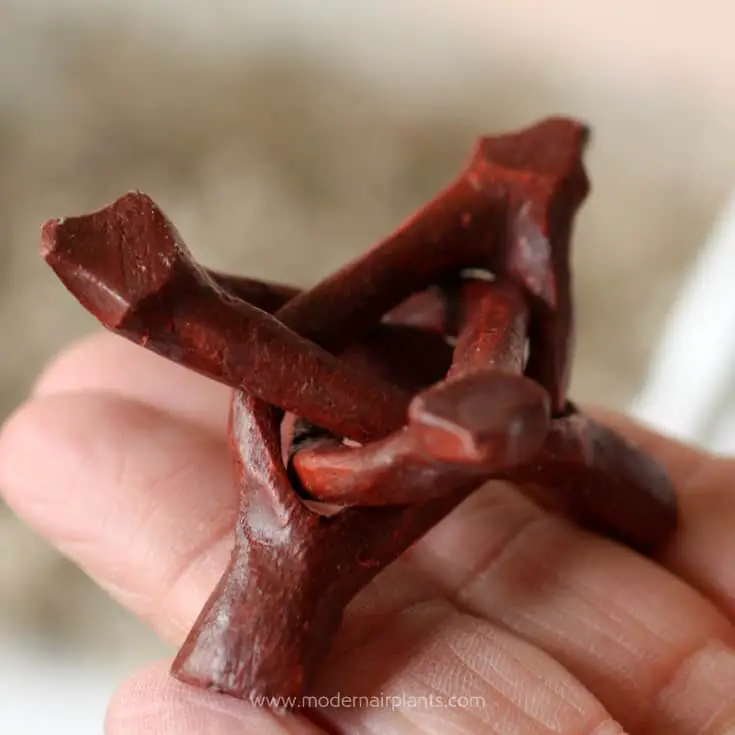
- Air plants. There are lots of varieties that would work well. I am using aeranthos, brachycaulos, green abdita, harrisii and ionantha.
- A mini stand or little bowl is helpful for adding a bit of height, otherwise, the pumpkins may all look about the same size/height.
- Embellishments: dried flowers such as amaranth, billy balls, globe thistles and lavendar and dried Spanish moss.
- Sharp scissors for trimming flower stems.
- Floral adhesive. This glue works well if you need your display to be extra secure. Don’t use it if you want to remove your air plants to water them. If you do use glue, be sure to frequently mist them with water to make them last as long as possible.
Let’s Get Started: Taller Display
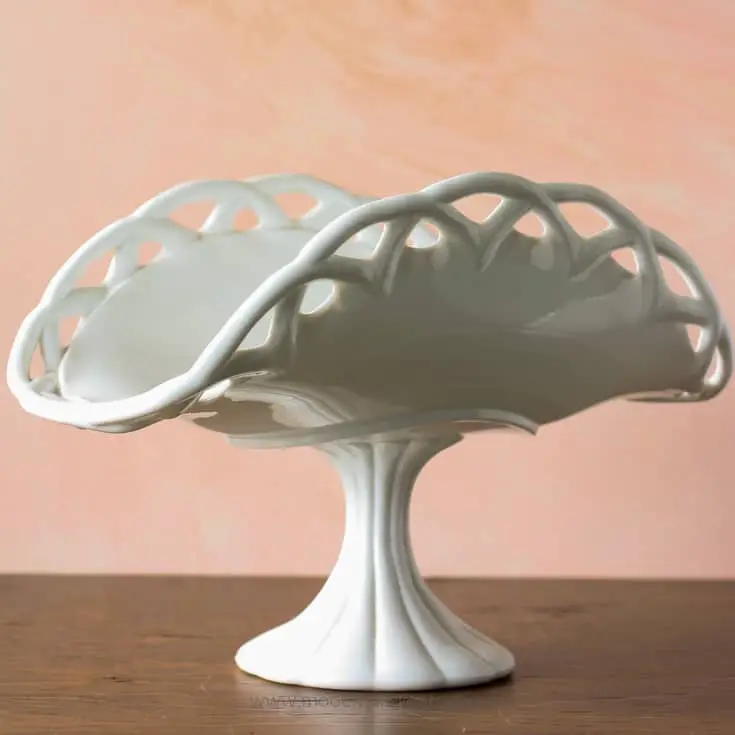
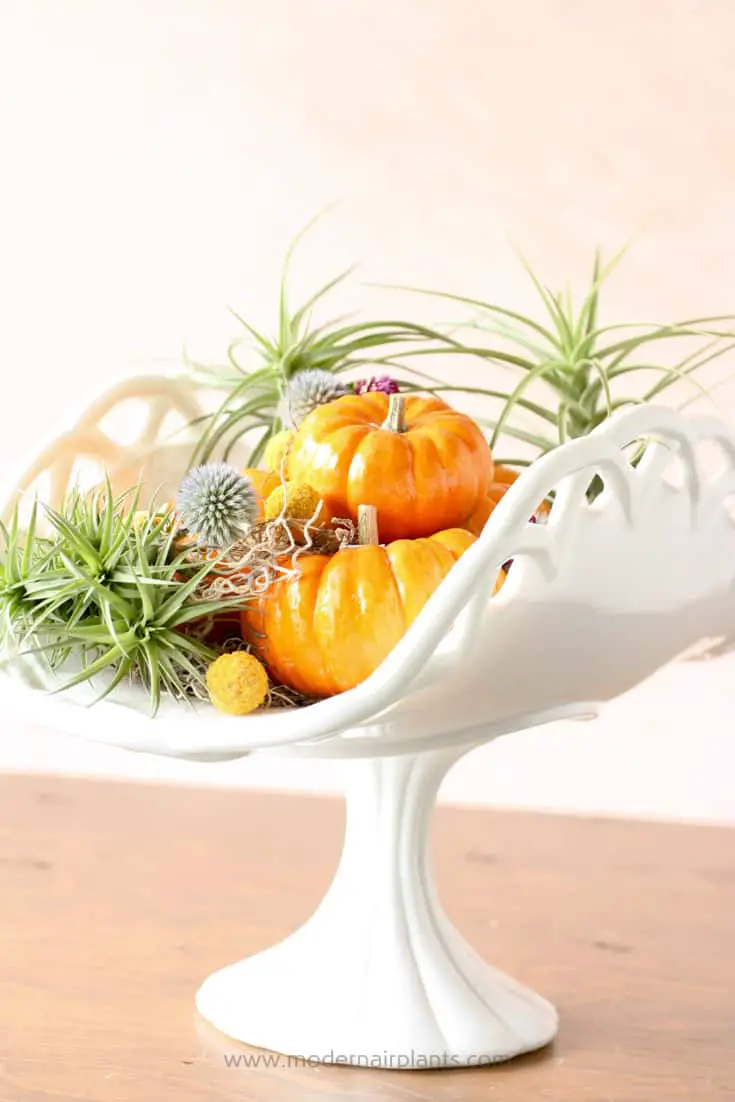
STEP 1: The first thing you will need is a bowl. I went through a milk glass collecting phase, so I have LOTS of milk glass to choose from. This banana bowl has two high sides, but the ‘U’ shape still allows for plenty of visibility.
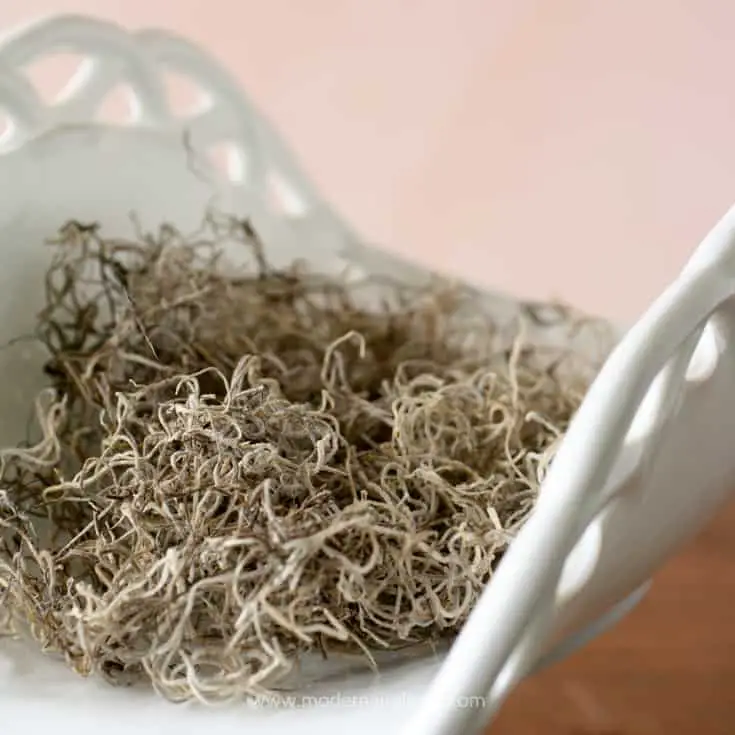
STEP 2: Add some Spanish moss to the bottom of the display bowl. The moss rounds out the display with a bit of filler.
STEP 3: Use a little stand or small bowl to add height to the arrangement. If all the pumpkins are the same size the display will look like it’s missing something. Adding variety in terms of height adds interest. (O my! My hands are looking dry!)
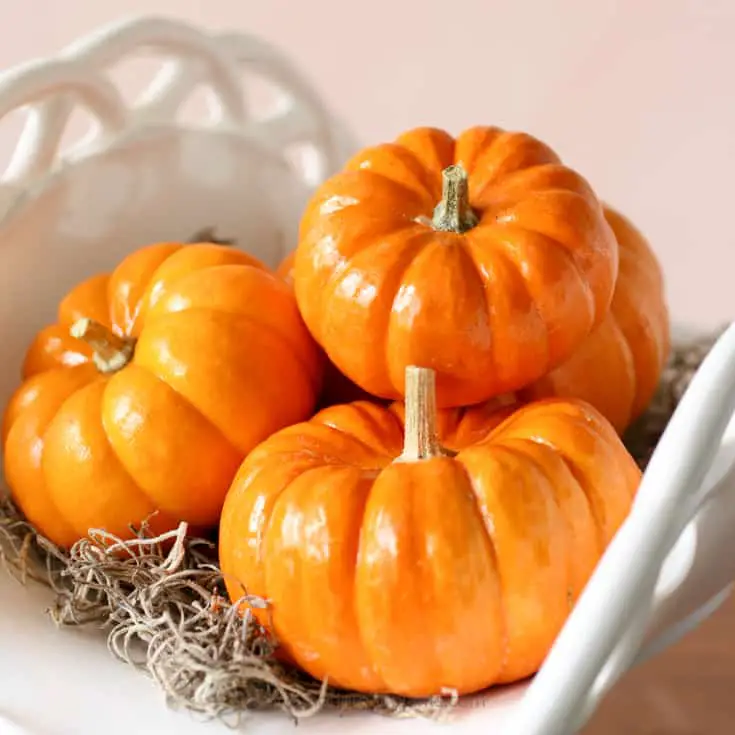
STEP 3: Place the pumpkins in the bowl. Using an odd number is most appealing to the eye. For a more natural look, turn some of the pumpkins on their side.
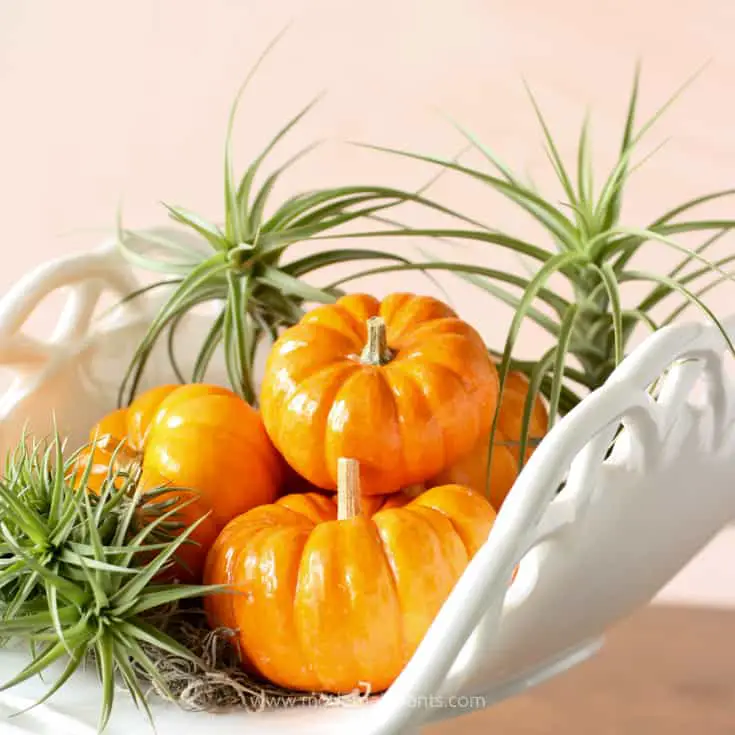
STEP 4: Now it’s time to add the air plants. Because air plants do not require soil, you can place them wherever you want to.
STEP 5: Finish your design by tucking a few dried flowers here and there. When trimming the stems, leave a few inches. This will give you more control over where you can add the flowers.
Low-Profile Air Plant & Pumpkin Display
This arrangement is designed to help facilitate conversation. We don’t want our guests talking around our centerpieces. Use the same materials as you would for a taller display, only instead of a footed bowl, choose a plate, cutting board or tray.
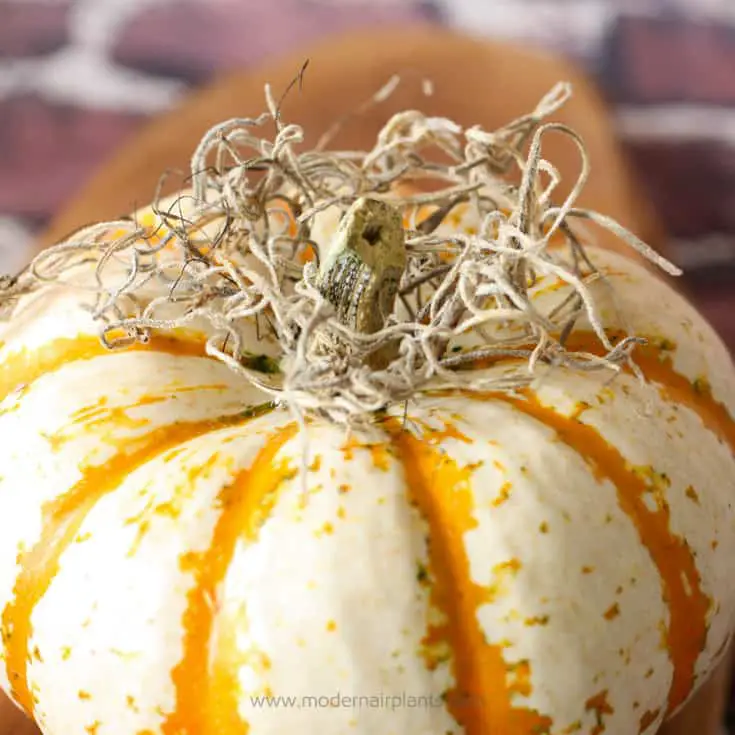
STEP 1: Add a small pinch of Spanish moss around the pumpkins’ stems.
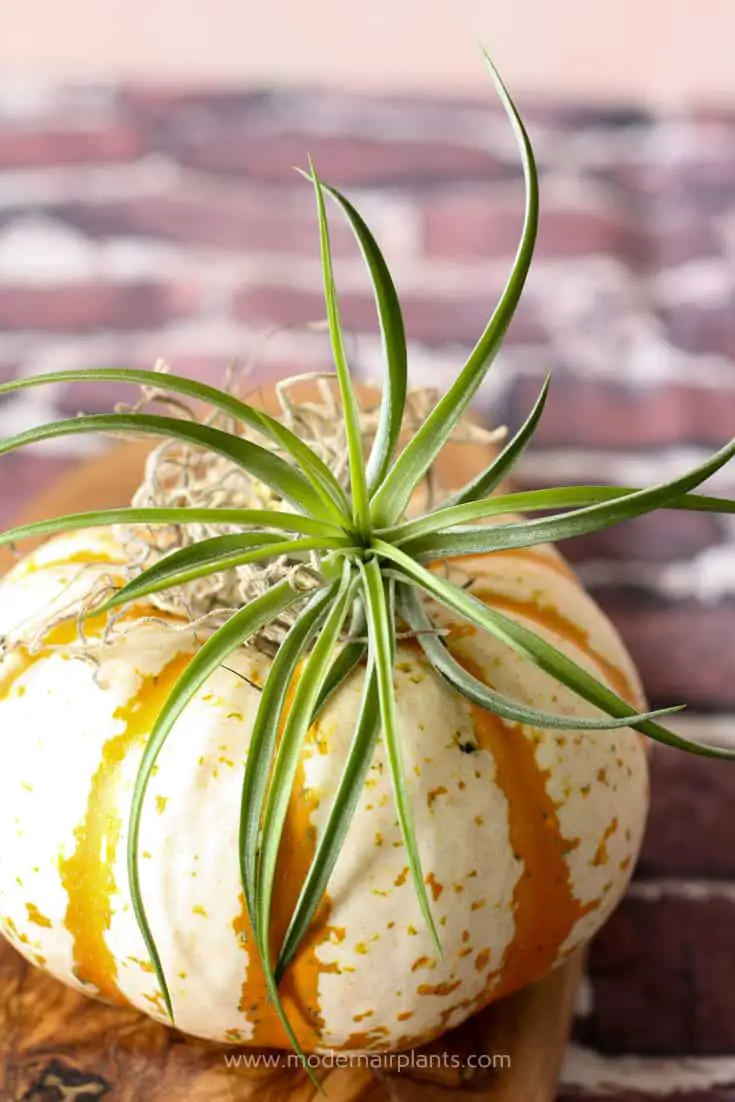
STEP 2: Either tuck an air plant around the stem. Or, if you want a more secure design, using floral adhesive, glue the air plant to the pumpkin.
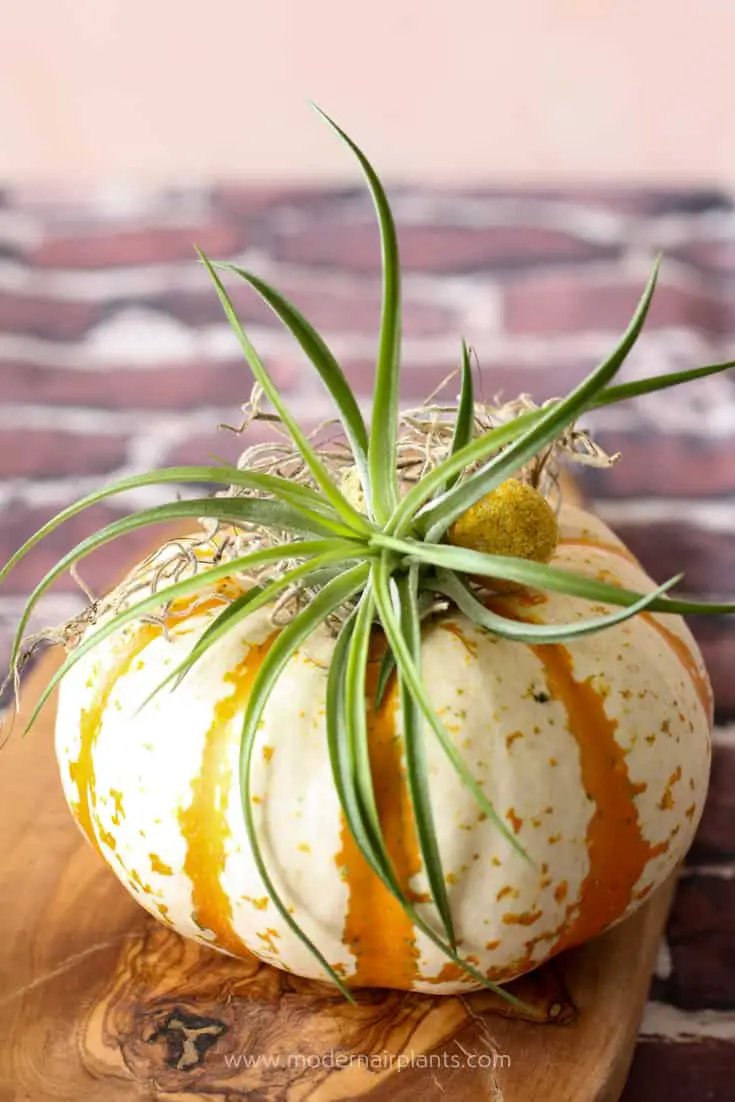
STEP 3: Leaving a couple inches of stem stick a billy ball close to the air plant.
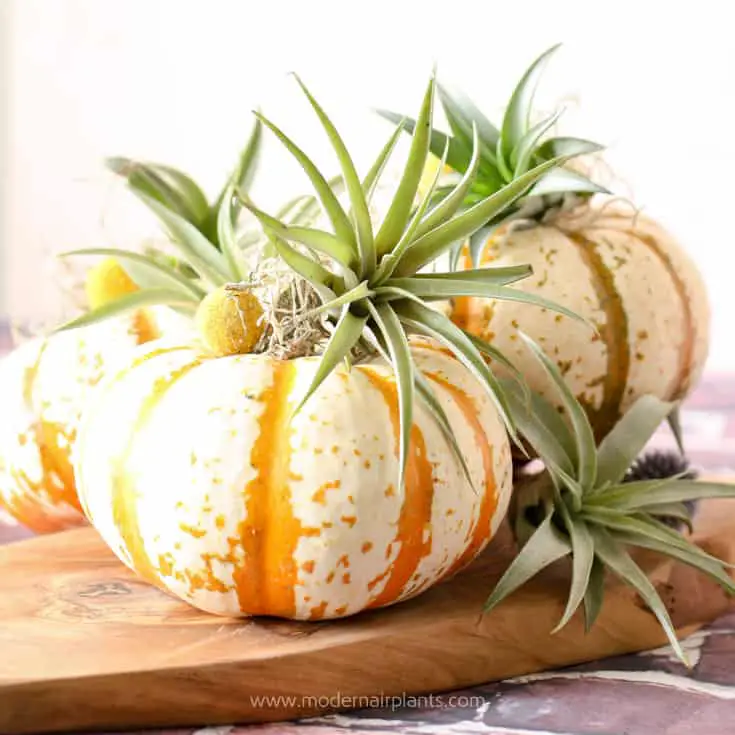
Tillandsia harrisii are tucked both around the base of the pumpkins and around the stems. Dried billy balls and globe thistles add a floral element, but last much longer than fresh flowers-and do not require any care at all.
Your Turn
Like Cinderella’s Fairy Godmother, it’s your turn to change an ordinary pumpkin into something extraordinary. Air plants are the magic that transforms everyday fall decor into something to be excited about. Best of all the magic will last, even after the stroke of midnight!