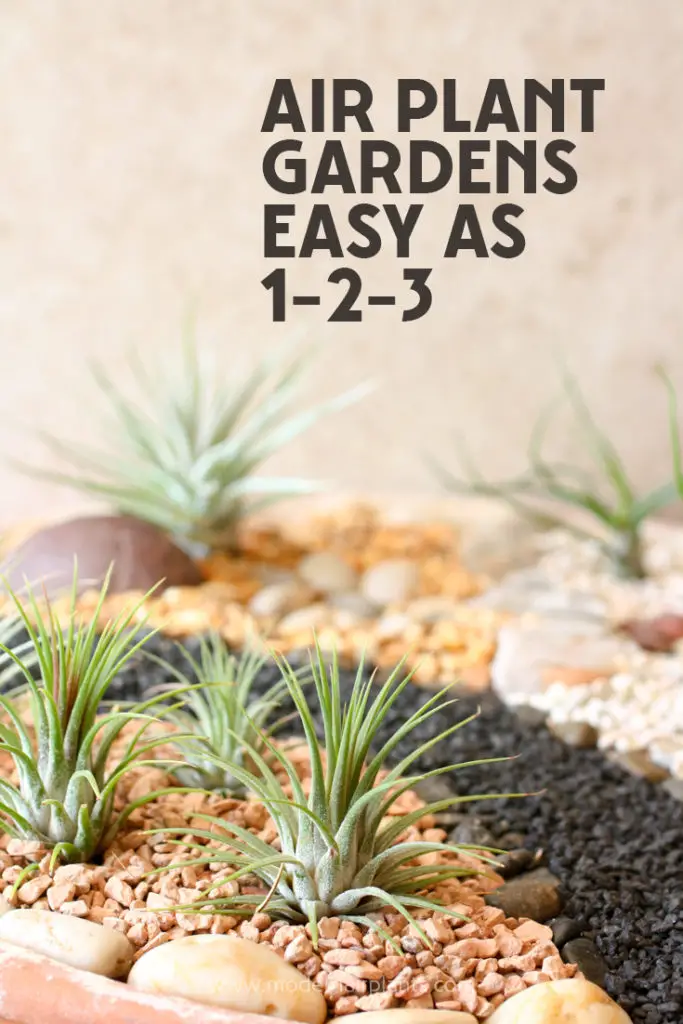
Modern Air Plant Gardens
The beauty of air plant gardening is that the plants are not permanent. They can be switched around, moved, replaced, whatever. And the garden remains intact.
This post may contain affiliate links, and I love all the products I promote.
Air plant gardens look right at home everywhere from the front step to an entry table, coffee table, kitchen table, or even a bedside table. Whatever kind of table…
Best of all. You’ve got choices. We’ll talk about creating 3 different types of air plant gardens. A rock garden, a fairy garden, and a zen garden. Choose one, or make all three. Every garden is intended to be relaxing, not stressful. It’s a fun activity with a friend or with children or grandchildren.
Rock Garden
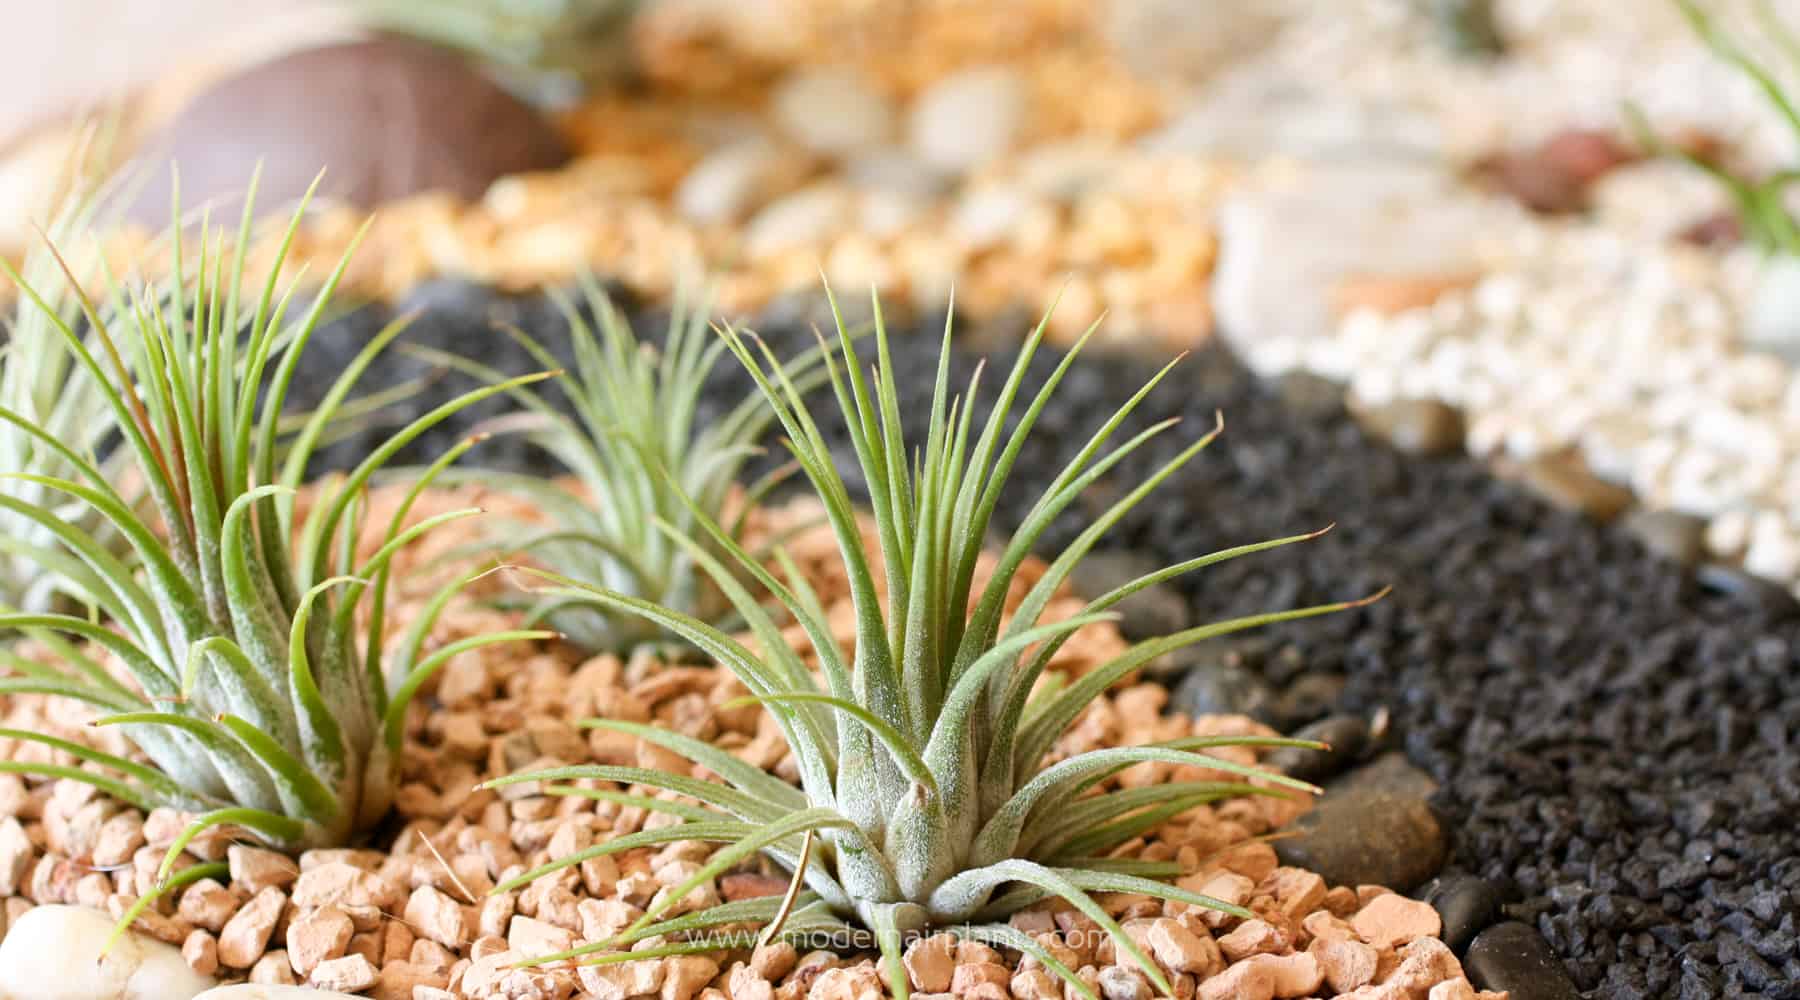
The key to a pleasing air plant rock garden is comprised of a variety of rocks with complimentary textures and colors.
Materials
- a tray for the garden, such as a planter saucer, or even a baking dish
- sand, enough to almost fill the tray. This is just filler, so only buy it if you absolutely have to.
- several varieties of rocks such as large and small river rock of different color tones (natural, white, black). Bonsai Jack’s top dressings work wonderfully and are all horticulture grade.
- Collect a few larger rocks from your yard, or from a friendly neighbor. Rob your personal rock collection or buy some quartz or crystal.
- decorative blue, glass pebbles make great streams
- a chopstick. I use this stainless steal chopstick from Bonsai Jack. (Bonus: they’re free with your top dressing order.)
- a mini gardening tool kit, not essential, but useful
- a variety of air plants, essential. Air plant suggestions: T. bulbosa, T. butzii, T. caput-medusae, T. fasciculata, T. harrisii, T. ioantha, T. juncea
Instructions
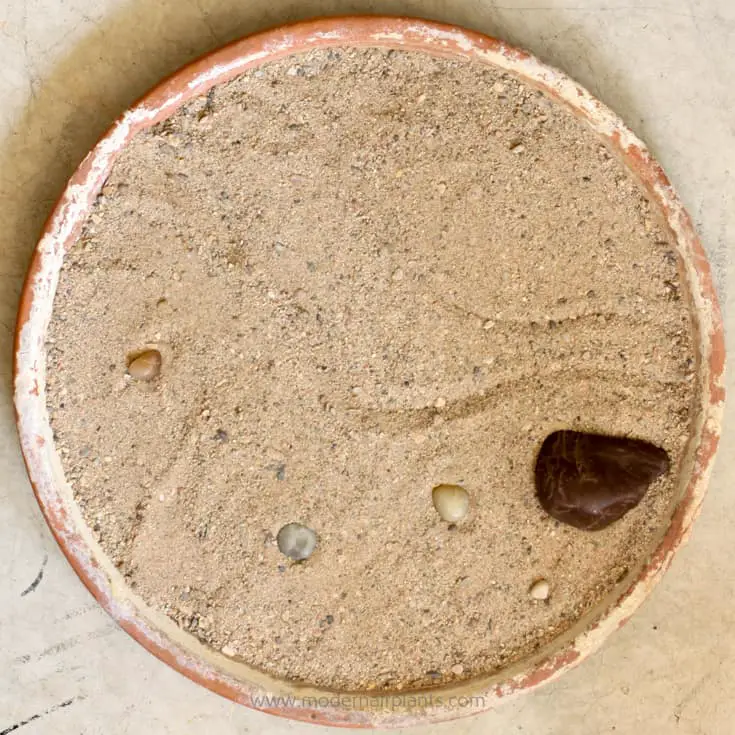
- Pour the sand into the tray until it’s about a 1/2 inch from the top.
- Using the palm of your hand smooth the sand.
- With a chopstick sketch your design plan on the sand. Think walkway, stream, air plant area, rock flowers, borders, etc.
- Using my chopstick, I’ve mapped out my basic design plan and added the largest rock, along with the rock flower centers.
- Begin sorting rocks and filling in your design. Find petal shaped rocks and round rocks for flower centers. Look for contrasting colors, and similar colors.
- After the rocks are sorted, start adding borders. Use the mini garden scoop to add the smaller rocks.
TIP: While I’m always switching out my larger rocks to find just the right one. The smaller pebbles are a real chore to remove. So be double sure of the smaller rocks before adding them.

The garden begins to take shape with a boarder, a path and flowers added.

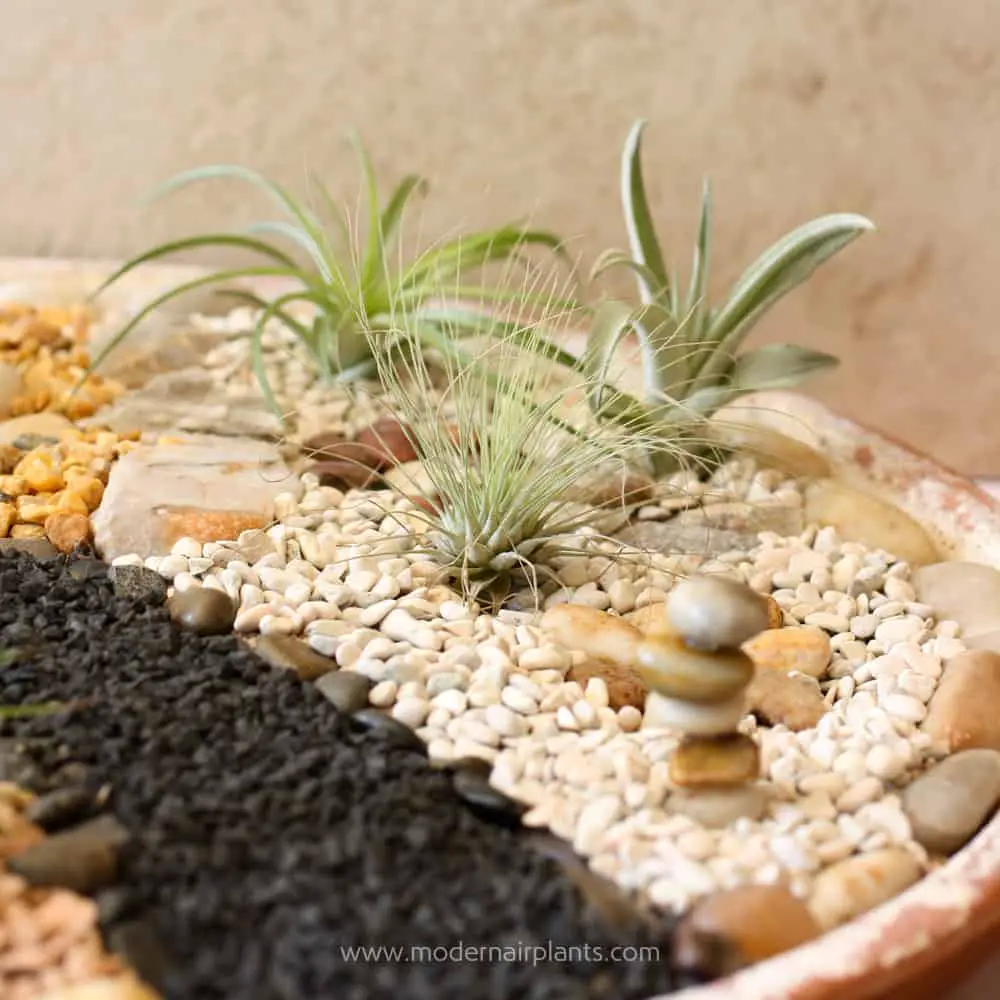
All the rocks are in place. I’ve used large and small river rock, Bonsai Jack’s monto clay, gold and tan top dressing, light pastel top dressing and black lava rock. I’ve also added a few rocks from my kids’ rock collections. I promise they said I could.
- Once the hardscape is in place start, set air plants on top. Take a look and see if you like the placement and the plants. Switch it up and see if you like the plants somewhere else.
- Once you have a good idea of where you like the plants, use the mini garden tools to make an indentation for the air plant.
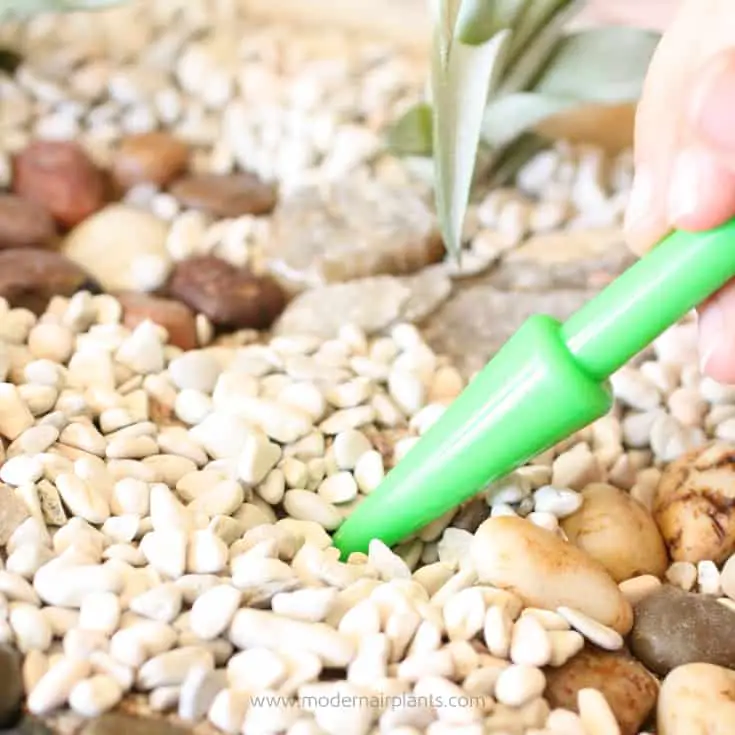
Using the mini garden tools, create a small depression in the pebbles where you would like to place your air plants. If you change your mind, fill in the hole and begin again.

Carefully place your plants in their little holes.
There it is! A family project. My daughter was my hand model and my son hot glued the cairn and donated the gypsum from his personal rock collection.
Fairy Garden
A fairy garden is a dressed up version of the rock garden. Follow all the instructions for the rock garden, including the materials list.
Now for the Cream
Add a few whimsical elements. Collect pine cones or acorns or whatever appeals to you. My daughter loves hiding miniature animals in her fairy gardens.
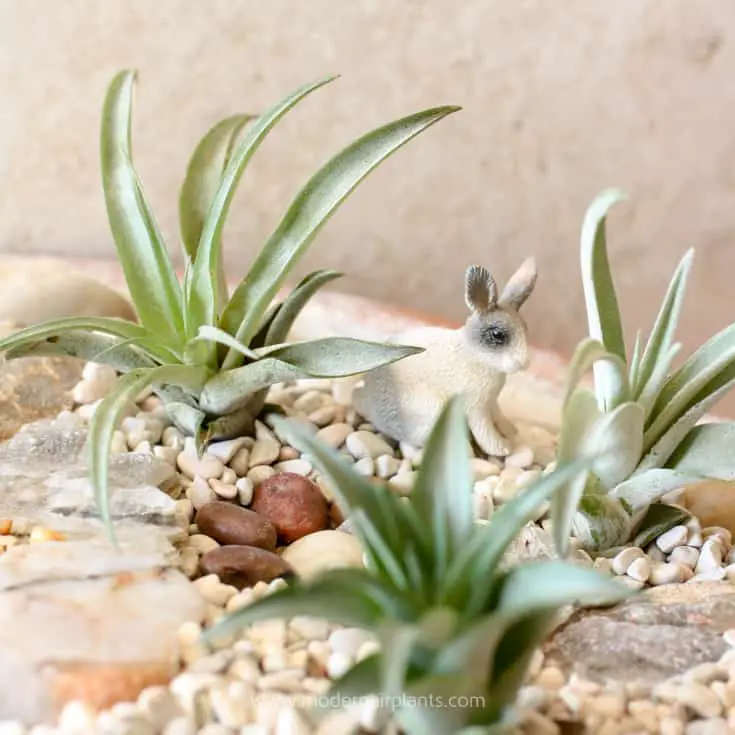
One little bunny a fairy garden makes.
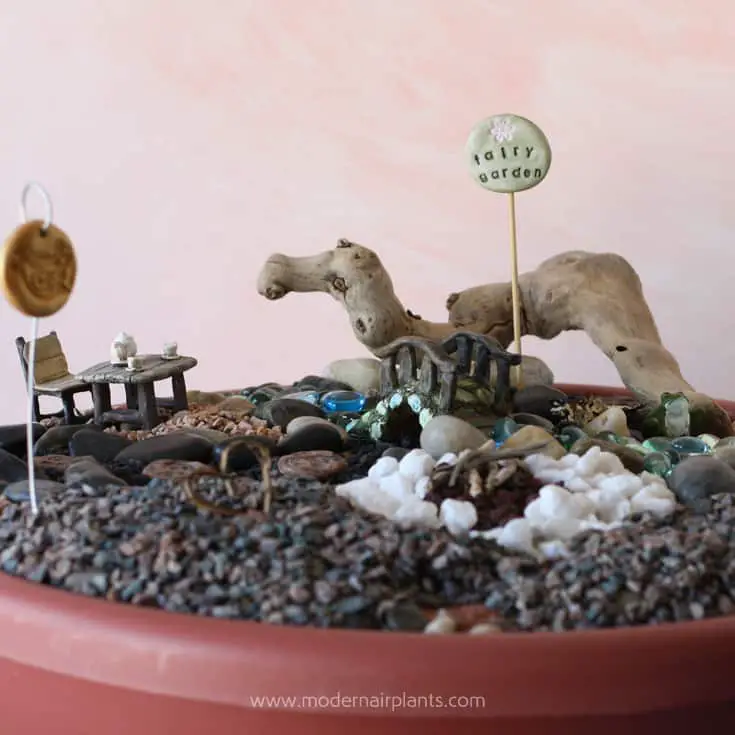
The fairy garden before the air plants are added. A bit lonely wouldn’t you say?
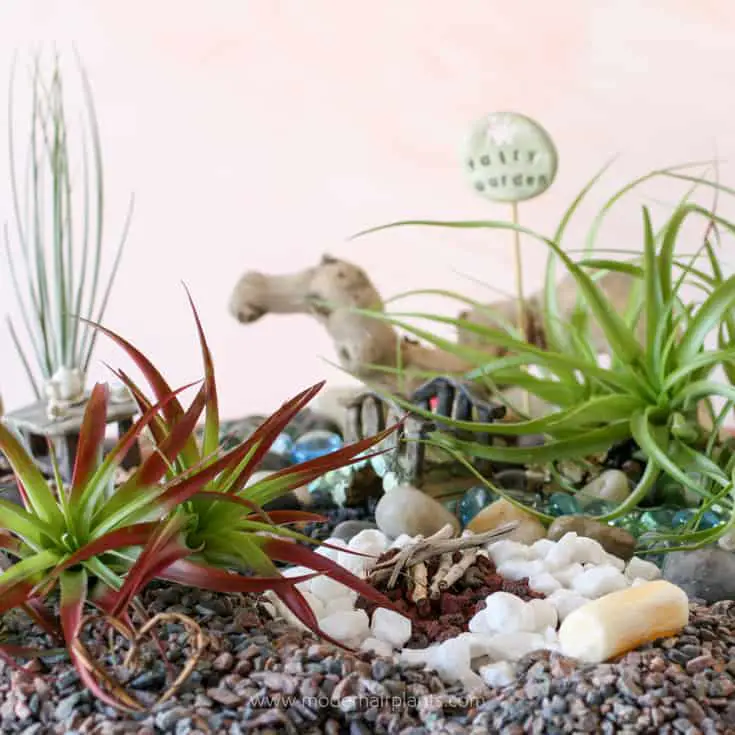
Looking lush with red and greeen abdita, complete with a “tree” juncea in the back left.
Zen Garden
The most simple and perhaps the most relaxing of all air plant gardening is the zen garden.
Materials
- tray, see suggestions above
- very fine sand
- an odd number of larger rocks, optional
- zen garden toolkit
- air plants
Instructions
- Pour sand into the tray.
- Place rocks and plants where desired.
- Using the zen garden tools, create a design in the sand.
- Repeat steps 2 and 3.
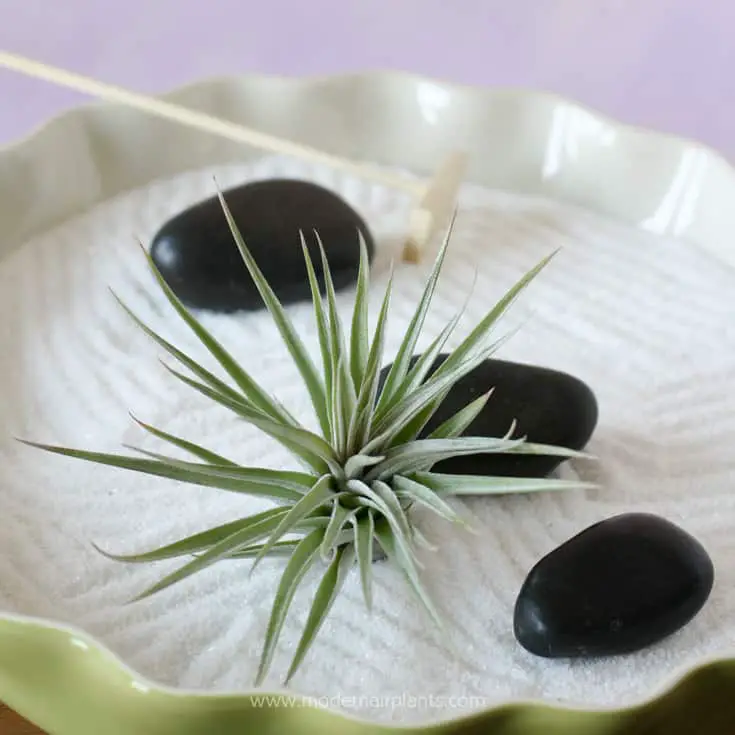
When designing a zen garden don’t overlook household items. This garden looks perfect in a cute pie plate.
TIP: Keep the sand line a good inch and a half below the rim of the garden to avoid future messes.
TIP: A light touch works best when using your zen garden tools.
Care and Maintenance
Weekly remove the plants from their garden and soak in a basin of water for several hours. Remove plants from their bath and let the plants dry on their side for several more hours. Return the plants to their garden.
Meditate
Take time to relax and enjoy your gardens! And then, make more 🙂