Your Air Plants Got Problems?
If you are wondering how to keep your air plant alive, I’ve got your back. Dying air plants can be discouraging. This frustration is compounded when we’re not sure why. By identifying the problem we’re halfway there, prepared to prevent future problems.
This post may contain affiliate links, and I love all the products I promote.
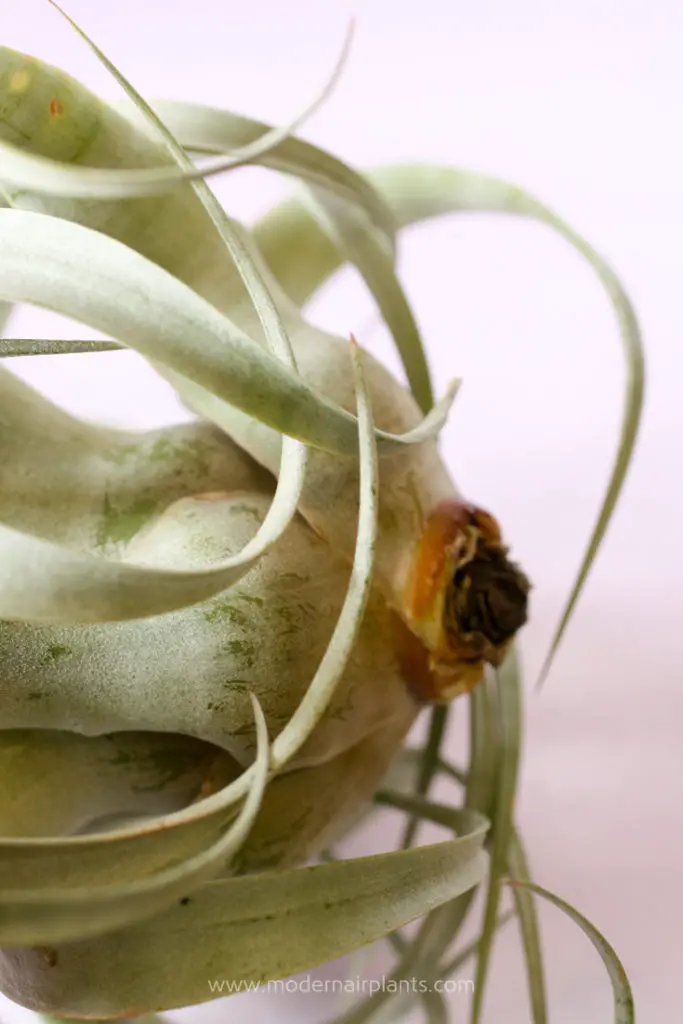
Air Plant Rot
Let’s begin with an air plants’ biggest vulnerability: rot. If water is allowed to accumulate in the cup, down inside the center of the plant, it can cause rot. If this is the case, you will notice a purple, or black color at the base of the plant indicating that rot has set in. The bad news is that rot is fatal.
The upside is that rot is 100% preventable. Here’s how: After soaking in water, set the plant on its side or up-side-down for about 4 hours while the air plant dries. This will allow excess water to trickle away from the air plant, rather than pooling inside. Wait until the plant is completely dry before returning to its display.
Tip: Overwatering Air Plants: Worry less about overwatering an air plant and worry more about letting the water drain away from your plant after watering. After the plant has dried, about 4 hours, return it to its display.
Remember that air plants do not absorb water from their roots. Never display an air plant where water will accumulate. The platform for displaying the air plant must be completely dry; whether it’s rocks, or pottery, sand, or in a terrarium, it must be dry.
After watering, allow the air plant to dry on its side or up-side-down. This will prevent rot.
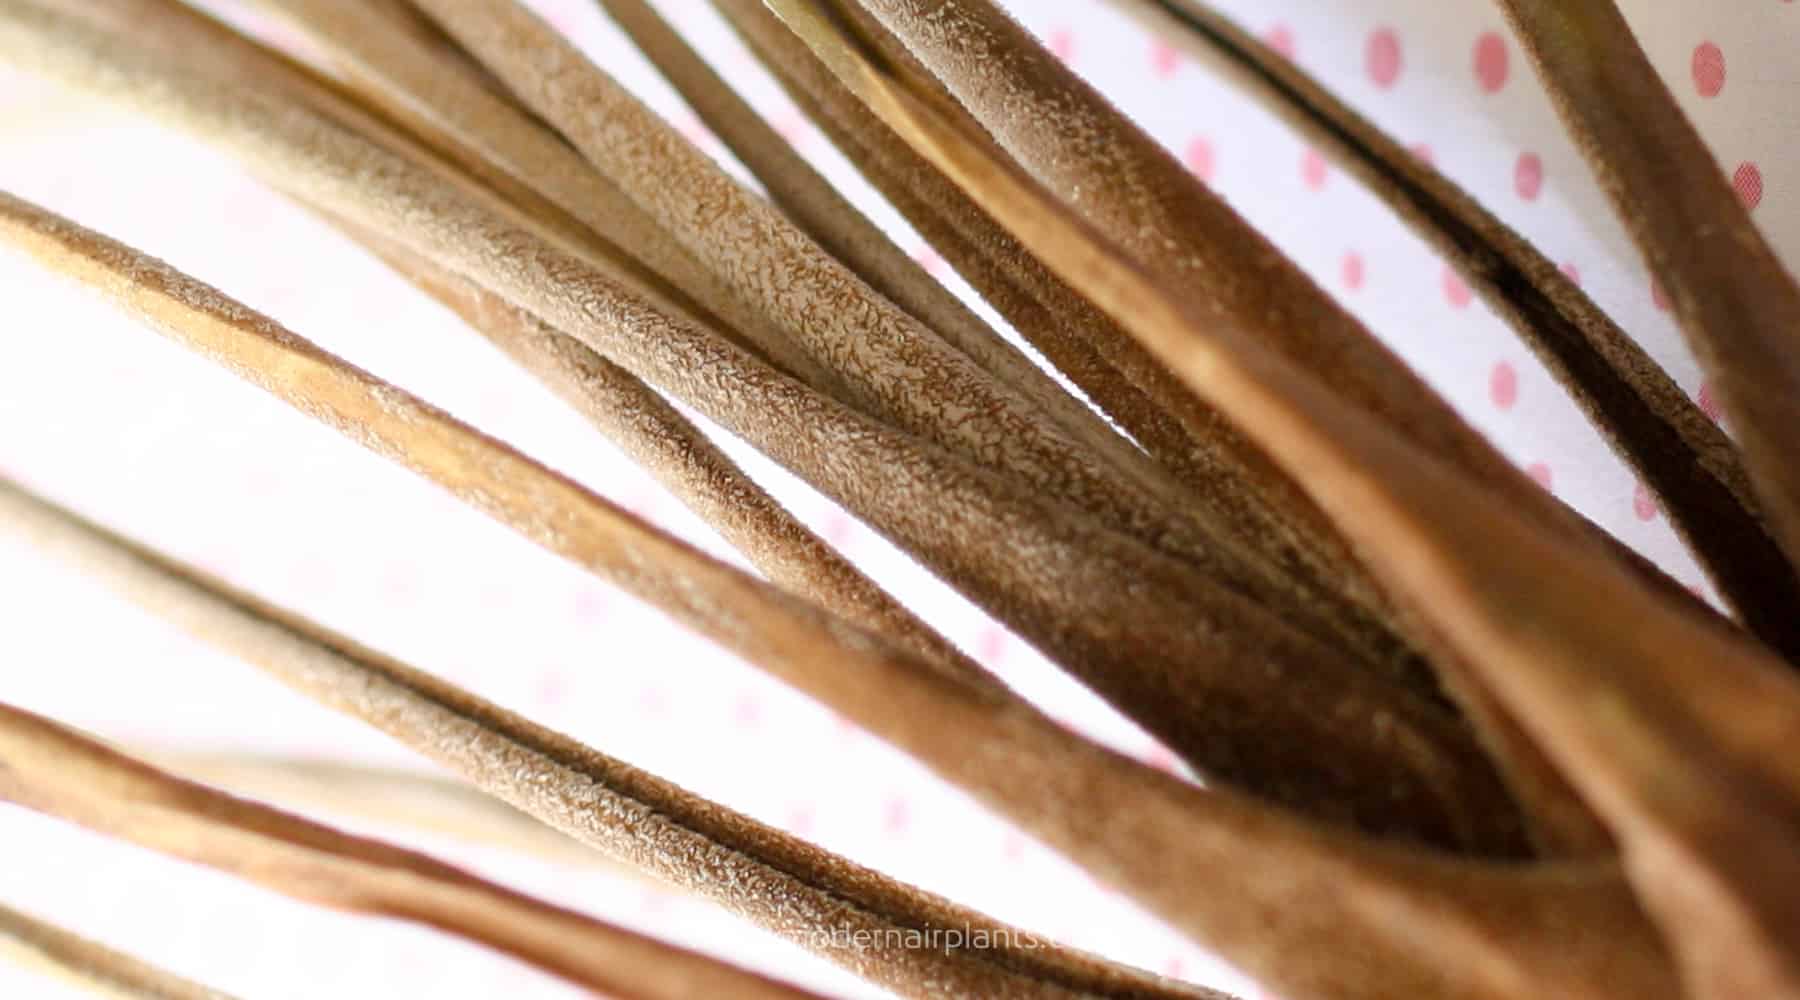
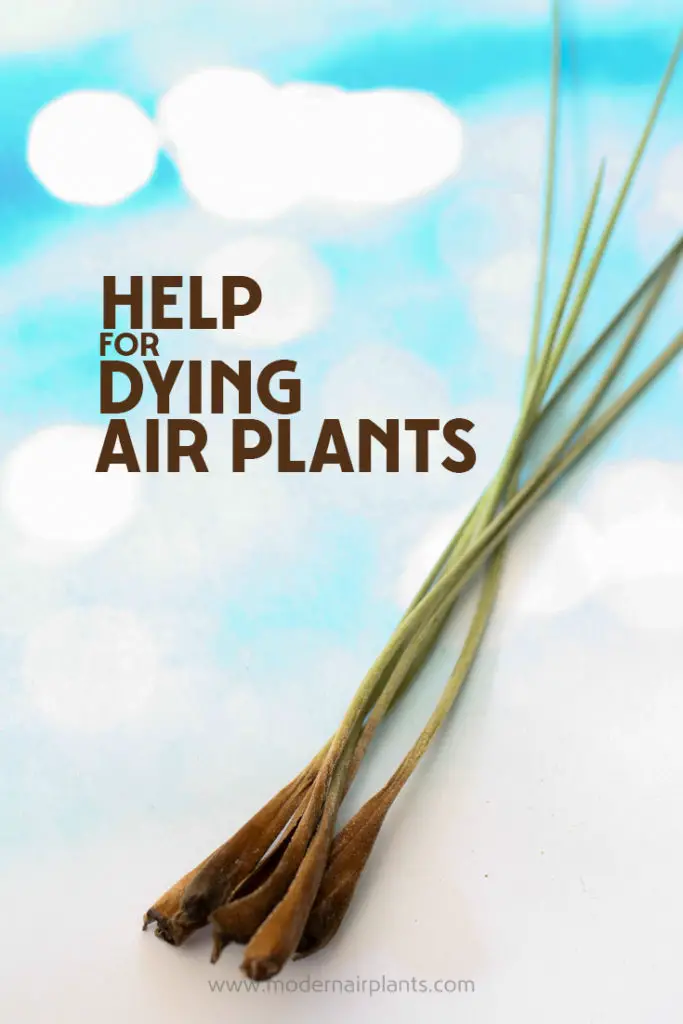
Dehydrated Air Plant
The opposite scenario is dehydration. The most prevalent misconception about air plants is that they will absorb all the water they need from the air. They are often marketed as completely care free. While air plants are very easy to care for, they do have 3 very important requirements: air, light and water. To hydrate your air plant soak it in a bowl of water for several hours once a week. Make sure that all the leaves are completely submerged in the water. Then, as discussed above, allow the plant to dry before returning to its display.
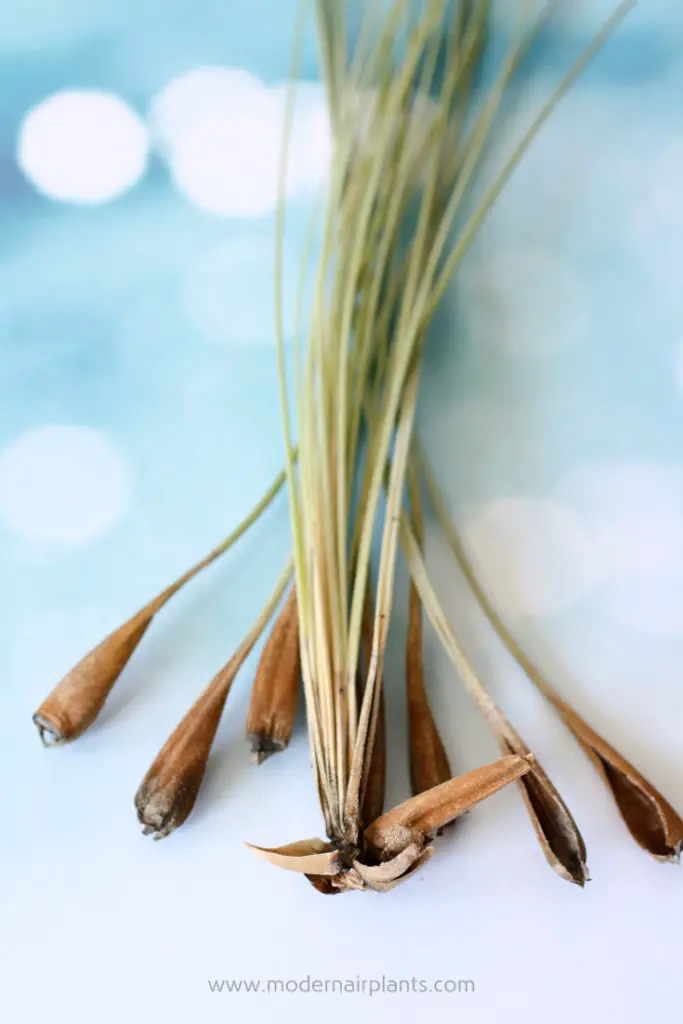
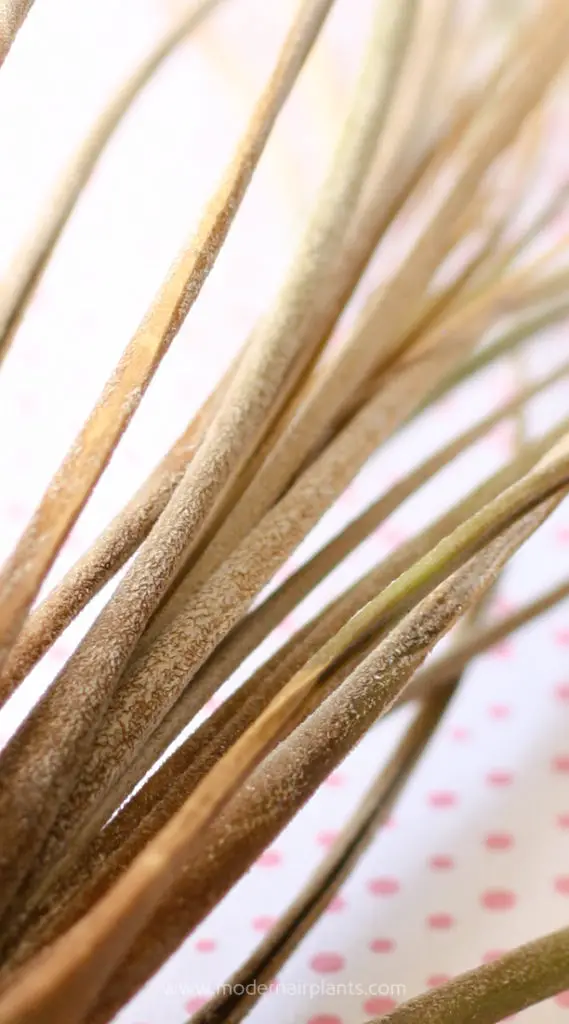
Air Plant Falling Apart: This air plant was so dry, it fell apart at the base 🙁
Toxins
Perhaps your air plant is reacting to toxins such as copper, boron, iron, zinc or rust. First, check your air plant display. Is your air plant exposed to copper wire, pressure treated wood, rust? Second, are you using fertilizer? Copper, boron, iron and zinc are all common elements found in fertilizers. To avoid these toxins, use a fertilizer specifically formulated for bromeliads, tillandsias, or air plants.
Fertilizer Burn
Another consideration is fertilizer burn. As recommended above, use a fertilizer made just for air plants to avoid metals that are good for most other plants, but are toxic to air plants.
While fertilizer can help tillandsias to grow faster and produce more colorful flowers, it should be used sparingly, only fertilize once per month, after watering.
Fertilize only once a month after watering to prevent fertilizer burn.
Tip: Identifying fertilizer burn: If your air plants look dry and crispy, with browning leaves, yet you know they are hydrated, they may have fertilizer burn.
Light
Because air plants decline slowly, it can be tempting to keep our plants in a location where light is insufficient. The best practice is to keep your air plants where they will receive bright, indirect sunlight, about 3-5 feet from a window. If you want to keep a display in a location where you know the lighting is lacking, rotate it to an ideal location for the majority of the time.
Too much sun can also be a problem. Direct sunlight will cause your plants’ leaves to sunburn. Air plants in the path of direct sun will also dry out more quickly.
Artificial lighting is acceptable. Just be sure the plants are near the source and that you cut the lights at night.
Air Circulation
Another reason your air plant may be failing is poor air circulation. Lack of ventilation is most often seen in air plants that are kept in terrariums. If you want your air plants to thrive, an open-air display is the best option. Closed terrariums result in a stifling environment with condensation build up. On the other hand terrariums can be very pretty. Be aware that air plants kept under glass will not last as long and will need to be replaced.
Good air circulation helps to moderate air temperature and prevents water from accumulating on the leaves. Don’t install a ceiling fan just for your air plants, but if you have one, turn it on a low setting during particularly hot or cold weather. By the same token a constant fan will certainly dry out your air plants. Avoid placing your air plants near heating and cooling vents.
Temperature
Even a touch of frost can be lethal to air plants. Keep your plants above 40 degrees Fahrenheit. If you keep your air plants indoors, this shouldn’t be a problem, but if yours are kept outdoors, be advised. If your air plants have been out in the cold and are now limp and mushy, they have probably been nipped by Jack Frost.
Because air plants need bright light, we keep them near a window where they can also be exposed to very warm temperatures. In the summer, keep an eye on your air plants to make sure that if they do receive direct light that it is limited. Air plants will also dry out more quickly in hotter weather and may need more frequent watering.
Pests
Speaking of watering, that is a good time to check for bugs. If you notice a cottony, web-like substance, you’ve probably got mealy bugs. These pests cover themselves in a waxy substance to protect themselves and then feast on the plant’s sap.
Treatment: quarantine this plant from the others. Then with a tablespoon of ivory dish soap diluted in a gallon of water wash your plant. With a cotton swab soaked in rubbing alcohol wipe in and out of every little crevice.
Watch your plant for a couple of weeks for any signs of pests before returning it to its regular location.
You’ve Got the Tools
While prevention is the best medicine, we are all in the air plant experiment together. There is no teacher better than experience. Now you’ve got the tools for identifying problems. If one (or more) of your air plants has been fatally wounded, chalk that up to lesson-learned and keep trying.